To begin, I am assuming that you will be using Visual Studio, however the directory structure and source control can be adopted by anyone.
Directory Structure
When creating a project, especially in Visual Studio, it can become very difficult to stay organised as more and more code is created/added. To overcome this common problem Mike proposes a file structure that is both diverse and expandable.
Here it is in its basic form:
Project Name
+ Docs
+ Media
+ Source
+ Obj
+ Bin
+ Test
Most of these are self explanatory but here's a simple overview:
Docs- This would typically include anything you would produce in an "Office" package, I would also advise storing all your UML here too.
Source- This can be expanded to include many child folders. Where I work this is usually split to replicate the different teams that will be working on the project, so you may find a DB, UI, Business and Common sub folder. For Games you would likely have AI, Graphics or 3rd_Party.
*Note - as a rule try to stick to the Linux convention of putting a _ instead of white space when naming files e.g. 3rd_Party instead of 3rd Party. I cant count how many times I have been caught out by errors relating to this at work.
Obj- anyone familiar with Visual Studio will be aware of the temp files created when building your project. One way of keeping your solutions folder organised would be to dump the temp files here... I will provide the VS configuration to do this later in the blog.
Bin- When you build a program you will be presented with a package (often a .exe). This is where you should have your compiler store that package. In this folder you would also have a Debug and Release sub folder where you can store your package depending on the configuration used for the build.
Here's a more advanced file structure (based on a typical game)
Project Name
+ Docs
+ Media
++ 3D_assets
+ Source
++ AI
++ Graphics
++ Maths/Physics
++ 3rd_Party
+ Obj
+ Bin
++ Debug
++ Release
+ Test
Visual Studio Configuration
For this it's probably easier to show you with a few snapshots. From within you project Right click the solution, select properties and configure the project as shown below.
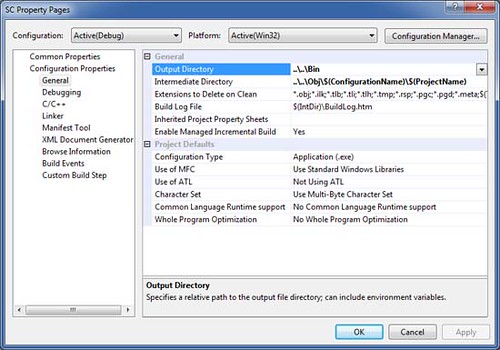
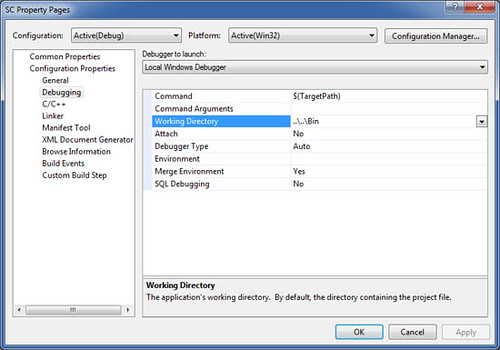
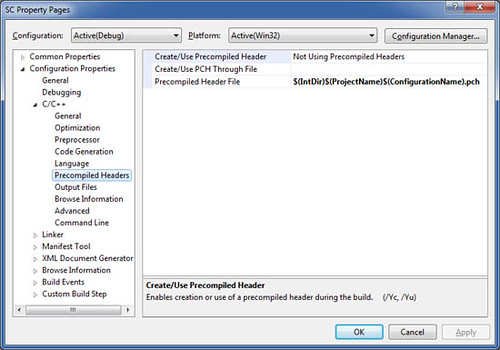
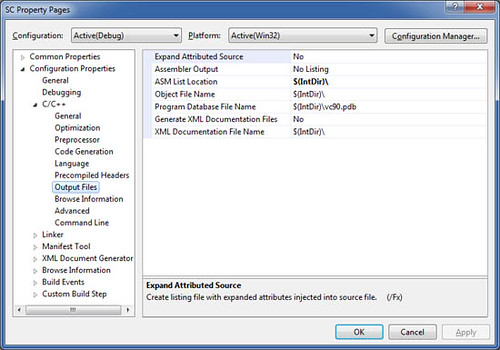
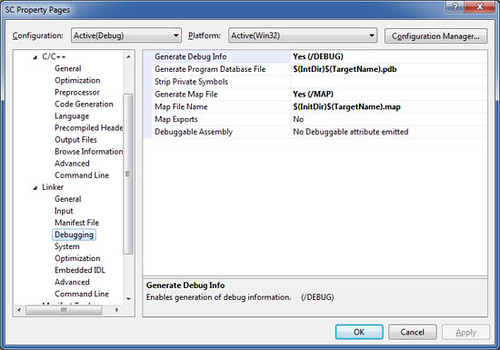
When you now build a project you should find that Visual studio now places the temp files in your obj folder and your release in bin. It's up to you to organise your source code but this is easy enough to do in Visual Studio.
Source Control using Google Code(GC) and TortoiseSVN
I'm not going to discuss these here as there's plenty of information on-line about them. All you need to know is GC will act as your repository (a storage place for code) and TortoiseSVN is a GUI (Graphical User Interface) that enables you to use Subversion (a type of source control).
To begin with you will want to create a project on GC - you can call this anything you like just make sure you can identify which project it relates to. One thing to note is its not always possible to name the project what you want (normally as its saved on your PC) as a project with the same name may already exists.
Now that you have created project and given it an elegant directory structure its time to upload it to GC. To do this you will require your Google username and password but note the password is not the same as your Google account password.
To get the username simply log into GC and select the "Profile" menu - this will give you your user id and select "Settings" to obtain your password.
Finally, in windows explorer, right click your project directory to get the Tortoise context menu and choose "Import...". Tortoise will now prompt you for the repository url. Enter:
https://[project name].googlecode.com/svn/trunk
Enter your user id and password obtained earlier and watch your files and directories get uploaded to the GC repository. From now on you can use the
Tortoise repo-browser and other tools to access it via the url above.